Nx Private Cloud GitHub Auth
Before creating your container, you'll need to create a GitHub OAuth app for your organisation.
Creating a GitHub OAuth app
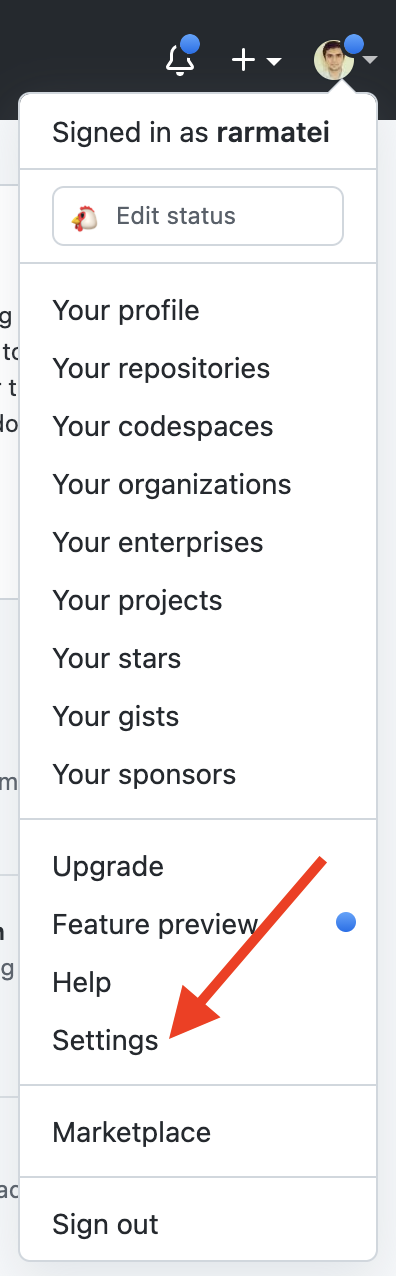
From GitHub, click on your profile picture and chose "Settings":
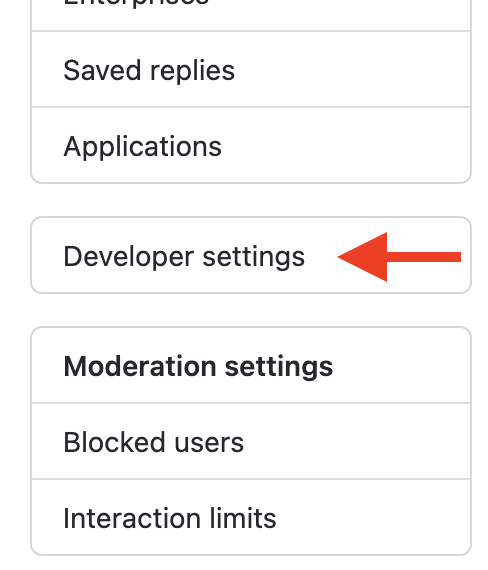
Then "Developer settings" from the left-hand menu:
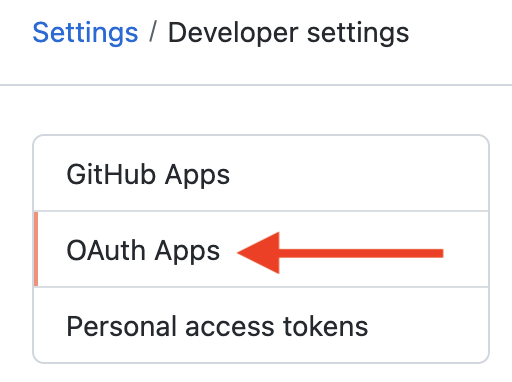
Then "OAuth Apps":
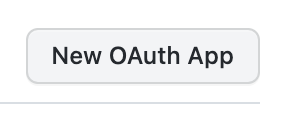
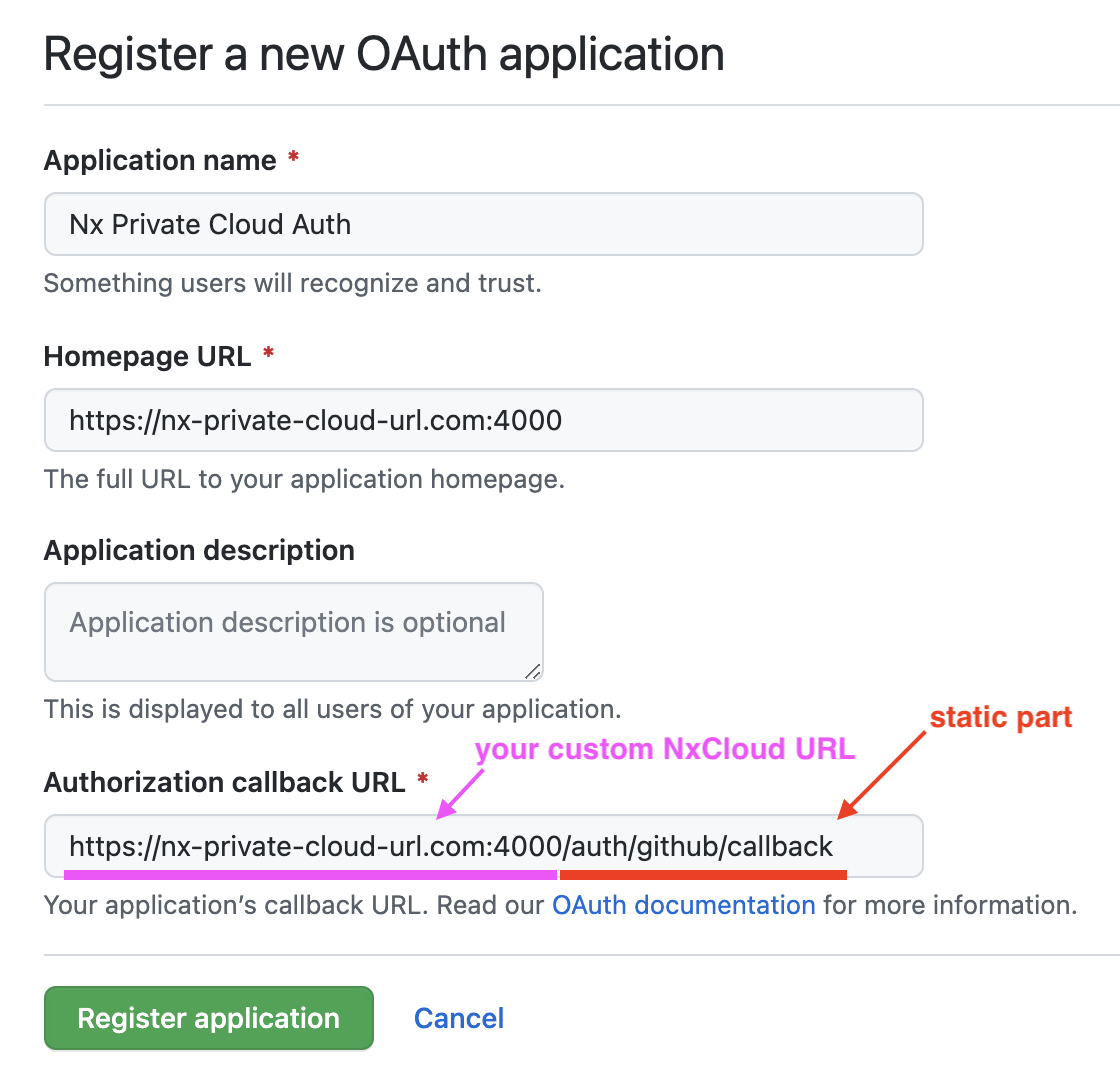
And create a new OAuth app:
Give it a name, and a homepage URL. The authorization callback is the important bit. It needs to be in this form:
[your-nx-cloud-url]/auth/github/callback
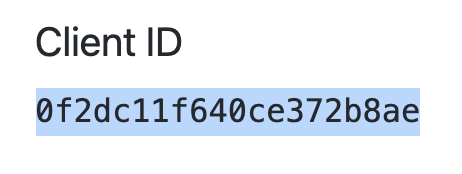
Once you create, keep a note of the Client ID:
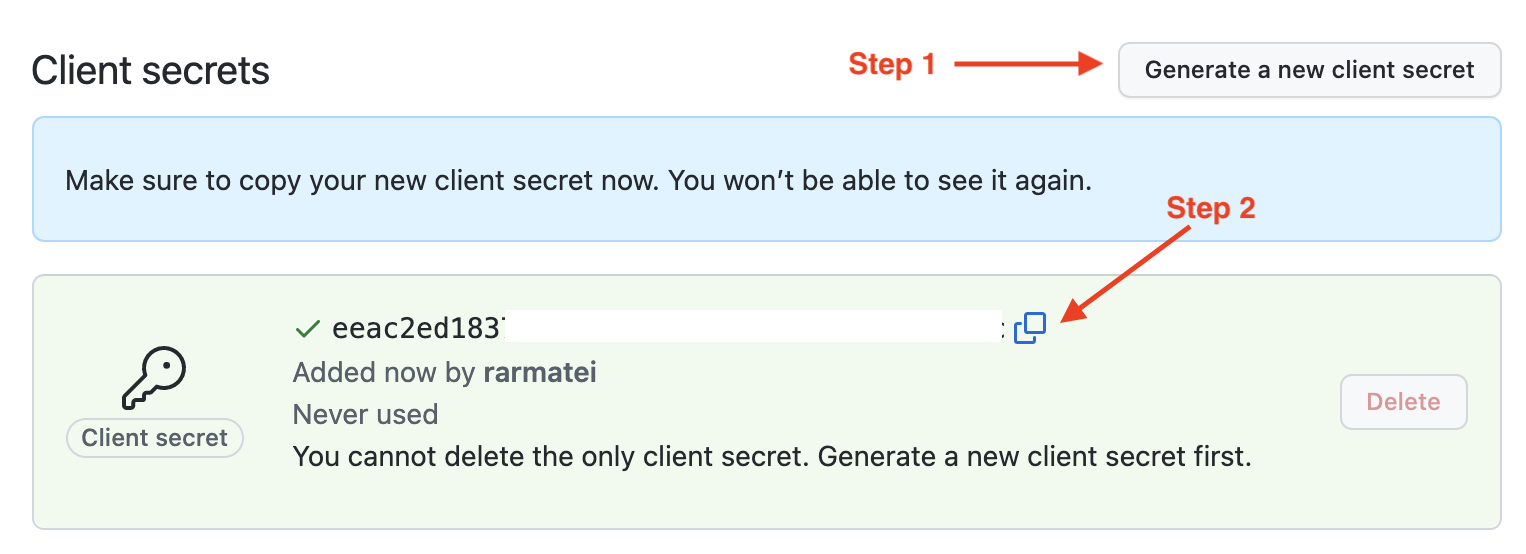
And then generate a new client secret, and save it somewhere secure (we'll use it in a bit):
Connect your private cloud instance to your OAuth App
When setting up your private cloud, you can pass these two environment variables to it:
GITHUB_AUTH_CLIENT_ID=...
GITHUB_AUTH_CLIENT_SECRET=...
Use the Client ID and Client Secret from when you created the app above.
GitHub Enterprise
If you are running an on-premise version of GitHub (Enterprise Server), you will need to configure one additional environment variable:
GITHUB_API_URL=https://custom-github-instance.com
This will point all auth endpoints to your GitHub server (rather the public one).
Note: the above environment variable, also helps with setting up the GitHub app integration, so you can have NxCloud build stats directly on your pull request. See full set-up instructions here.